Thursday, May 2, 2013

Starting seeds from the recycling bin...

OK, not literally, but your recycling does have a lot to do with it!

Instead of chucking all our egg and salad mix cartons this spring, I saved a bunch of them and made them into seed starters! I knew I had seen posts online about doing something like this, so I wanted to give it a shot for myself and also experiment with different materials to see if that made any difference.

I used two plastic egg cartons, one regular egg carton, and a plastic tub from some spring salad mix.


 At first I set everything up on the railing (wine and gardening are a perfect pair, in my book), but I realized pretty fast that I would need more room (especially so I didn't knock my wine over!), so I brought a scrap board over from the wood pile and ta-da! Instant potting table.


 This is what my final set-up looked like. 
Don't worry, the propane is for the grill!
I have plastic wine glasses for just such an occasion and I brought our binoculars out just in case an interesting bird came by. With this little station, I was happy on the back deck for hours!

Until I stumbled upon this guy, of course. YUCK!


He was hiding in my bag of potting soil and he almost touched me! EEEEEEW!


Despite my ugly visitor, I managed to continue my project (after a very careful extraction of my guest, that is) and started green bean, beat, and broccoli seeds. I put a few seeds where each egg would go, added some organic soil, and patted them down lightly. I also potted some herb seeds in the ceramic pots you saw above.


I used a knife and one of those little picks used for eating nuts to poke holes in the tops of my mini green houses.

As of now, pretty much everything has sprouted except the seeds I put in the normal paper egg carton. Those ones developed a mold and had to be thrown out. I was surprised by this! I anticipated that container working the best. It drained better than the plastic, of course, but I guess perhaps it retained too much moisture and encouraged mold spores.

I got two very nice, healthy bean sprouts out of the salad container and I have many small sprouts of beats and broccoli in the plastic egg cartons. The sprouts do seem to be very thin, though, and I'm concerned about them bulking up enough to be transplanted.

This is why they call it experimenting! Progress on the actual garden is slow due to planning and re-planning and re-planning, but we did manage to buy most of our materials for the fence and set four posts this weekend. Pictures coming soon!


Tuesday, April 30, 2013

Musical Tuesdays: The Mastersons

There is something truly magical about couples that make music together.

I'm not bragging about me and the cowboy, either. This goes way back.

As for me, it goes back basically as far as I can go. Born to parents that played and sang together regularly, I took it for granted that family makes music together. Not until just recently did I realize how special it really is to play tunes with kin.


Now let's bring things to the next platform. Seeing a live performance with, say, a father and daughter is special because of the blood bond between the two. They share genes. One inherited the music from the other and one has undoubtedly cultivated the music in the next. But what about the chemistry between two musicians in love?

That, to me, is a completely different animal.

There you are watching two people make music together that are part of a family unit, but they chose one another.

Or perhaps, as I sometimes like to think, the music chose them for each other.

And I swear you can see them choose each other over and over again as they play their co-written songs. This attraction, the kind you don't typically get to see as an outsider, makes performing couples absolutely captivating.

This brings me to the show Tim and I saw this weekend at The Bearsville Theater in Woodstock, NY. We saw The Mastersons open for Steve Earle and The Dukes and Duchesses. The whole show was great, but the chemistry between The Mastersons while they strummed out their songs together was undeniably a highlight.

Just the two of them, The Mastersons played a too short set of songs off their first (and very recently released) album, Birds Fly South, which, by the way, you MUST buy as soon as possible...

The following videos unfortunately don't capture the on stage chemistry I was lucky enough to witness, but I can tell you that the connection between the two was electrifying. They looked at each other with smiles of admiration and this "let's do this" attitude that was business-like, confident, and yet tender... love, basically.

Here's a couple videos to give you a taste. If there's a show near you, don't think twice, buy tickets. If you already have some favorite musical couples in your catalog, check them out live and see if you notice this connection yourself. I'll bet you will...


Monday, April 29, 2013

Don't throw out that scrap paper at work!

A couple weeks ago I had a light bulb moment. Two elements suddenly came together in my head:

We were wasting a LOT of paper at work.


We were buying memo pads printed specifically for taking voice messages...


Uh, duh!

I quickly got to work.


Using Microsoft Publisher, I made a template that fits 4 memos per page. Then I printed the template (you can use "draft" quality printing to save ink) on the blank side of the scrap paper.


 They came out pretty cute!


On some of them I printed just a border, because you don't always want a voice-mail memo. Sometimes I just need to write a quick note to a co-worker or plan out my day...


And of COURSE I had to make them seasonal! So I did a batch with colored borders as well.


Once I cut them in quarters and put a staple in the top, I had a fully usable memo pad! I feel much better about making memo pads out of our wasted paper than trying to bring it all home to recycle (we can't recycle at the music school, which is silly I know).

I didn't do the calculations, but I'm willing to bet that the cost of ink doesn't outweigh what it was costing to buy those other note pads. And this way the paper gets reused!

How do you go green at work? Any other scrap paper ideas?

Happy Monday everyone!


Tuesday, April 23, 2013

Raised Beds on a Bargain

It's planting season!

I've already started my seedlings inside (post coming soon), but outdoors it's been one big project: build the garden.

Our plan is something like this:


4 4'x8' beds
3 foot pathways
fence
door optional depending on budget (we might just leave a corner open, we'll see how things go)

We knew the boards would be our biggest expense, so we chose to use Doug Fir instead of the popular, pretty, and VERY expensive cedar alternative. From what we can tell, Doug Fir does last a very long time, like cedar, but doesn't last quite as long and doesn't look quite so nice.

We thought that was a fine trade-off, for the price.

We got extra lucky when we managed to snag a clearance! 18 Doug Fir boards, 12 inches wide and 12 feet long for only $100 flat.

Yes, some of the boards were twisted and cracked, but we could pick out what we wanted and still save over $50 on our purchase! Off we went with our pile o' wood!

We knew we needed 8 pieces, 8 feet long each, and another 8 pieces that were 4 feet long each. So we just laid the boards out and picked out the sections that weren't cracked or warped. In the end, we had no problem finding all the pieces we needed within the discount pile of boards. And the lumber actually has quite a beautiful grain to it, which was a nice bonus.

Here's how our first bed turned out:


We used scraps from the cracked pieces to brace the corners. We only got to building one before...


... it snowed.
So the project went on hold for a week or so until the snow melted.

Then we got back to work!


We finished the four of them and laid them out where we thought the garden would go.


AND we changed our minds and hauled the beds all the way back to where we had built them on the South side of the house.


This spot is way better! Tons of sunshine!

Next we moved all the beds BACK out of the way (we got really used to carrying these guys around) and Tim tilled the whole area so we could level it.

Luckily, all we had to do was bring one corner down and that about did it.


Then we played the Make It Straight game and spent a couple hours raking, moving, measuring, nudging, raking again, moving again, leveling, shoving rocks under corners here and there, raking some more...


Finally, we got everything just about lined up so the beds were parallel to the house, level, and had three foot pathways in between. Then came the dirt...


A LOT OF DIRT!!!


We got lucky on two counts here: one, we have friends with good free dirt, and two, we have a very big truck at our disposal. Convenient! We backed the truck up and started shoveling.


This is what the top soil looked like when we were done.

Currently, we're picking away at mixing in some manure from a family member's farm and building the fence around the entire deal so the deer don't have an open buffet.

More posts on our progress to come!

Anyone else out there starting from scratch this year?


Tuesday, April 9, 2013

Musical Tuesdays: Buddy Miller

An Americana Icon


Whenever someone asks me or Tim what kind of music we play, we stumble over some terms like country, rock 'n' roll, folk, bluegrass, and trail off into some sort of gesture (usually a shrug) that indicates our uncertainty. We usually get the nod and "alright!" reply from the asker.

What we want to say is Americana, but alas, I guess the world isn't ready for us because in the few instances where we've possessed the bravery to come forward with that kind of terminology, the replies are much more confused and usually loop us back to our collection of stock answers anyway.

But there are some artists that have so solidly developed an association with the term that one is lead to believe it is only a matter of time before the Americana genre won't need a bandwagon of subsidiary, explanatory descriptions.

One such artist is Buddy Miller.

Mr. Miller was born in Ohio and currently lives and works in, appropriately, Nashville, where he continuously pumps out album after album like some sort of American Music Factory. Whether he's producing, playing, writing, or performing, he is involved in what seems to be an inhuman amount of projects. His music, when forced into our prefab stock answers, covers everything from straight up rock 'n' roll to gospel to blues to country to folk and back again.

Right, Americana.

I am compelled to share artists such as Mr. Miller in an attempt to shine more spotlights on him and similar musicians, musicians interested in making music that has deep American roots.

As a personal aside; I think it is becoming more and more important to foster this type of healthy patriotism, the kind that highlights our strengths, reminds us of our faults, and reinterprets our history again and again.

History is like good dirt. It's one thing to know it's there, but it must be worked to make something beautiful.

Here is a video of Mr. Miller's project, The Majestic Silver Strings, in which him and a heavy hitter group of his peers reimagine the song Dang Me, originally by Roger Miller.


I am in love with this rendition because country music has a reputation of singing about heavy subject matter in a light-hearted way. That's not necessarily a bad thing, but I hear songs like this and sometimes I long for an arrangement that mirrors the subject. For "country folk", and folks everywhere, really, alcoholism is a serious matter that destroys lives. Similarly, subjects such as violence, divorce, separation, and the afterlife are often approached with upbeat styles.

Sometimes I'm just looking for something that sits a little heavier. In this case, I got an old classic, re-imagined with the proverbial emotional weight appropriate for the topic. It's an artistic masterpiece.

In this video, Mr. Miller and his wife Julie sing a song for Mrs. Miller's album, Written in Chalk. This little number is called Gasoline and Matches and is the penultimate kick-ass couple anthem. A song that two musicians like Tim and I can really get into...


I hope you'll consider exploring the Millers' discography. They've created a library of music that is contributing to the Americana soundscape by helping to define it and refusing to fall into any other categories.

And when you share your findings with friends and they ask you, "So what kind of stuff do they do?"...

Good luck.


Thursday, April 4, 2013

DIY Frugal Party Favors

I think making favors is one of my favorite parts of throwing a party. I'm so happy that our guests chose to spend their Friday night with us last week to celebrate my birthday. Giving a little gift in return is my favorite way to show that appreciation!

There is a quick, 3 pronged approach to designing/making party favors:
  1. Pick a gift
  2. Pick a package
  3. Make a tag
Boom. You're done.

This model can be used for any budget, really, but those three elements are the basics regardless of how much you choose to spend per guest.

The favors from my birthday party came to about $3 per guest, which I could live with for a small friends and family gathering. I only ended up making 10 party favors total and even still had some left over.

Here's how I made my favors...


 My gift of choice was a pack of wildflower seeds. I thought it would be inexpensive and very season-appropriate. Wildflower seeds are easy to grow too. I know some people who just throw them into a field and watch them grow!


I went to Micheal's and bought the above supplies: envelopes, tags, twine, stamps, an ink pad, and a craft pen (that I actually didn't end up using) in addition to my seed packs. If you already have some supplies (like the ink pad or stamps, for example) your cost per favor will be lower. My cost included buying everything.


I sealed the seed packs all up in the envelopes and measured out my twine. Then I cut all ten pieces of twine the same length so they were all ready to tie.


I chose to tie the twine like a present ribbon, placing the knot in the upper left hand corner of the envelope so that the tag had room to hang...


Once I had double knots on all of my envelopes, I moved on to stamping my tags...


I found these adorable stamps of circus animals wearing hats in the bargain bins and bought three different ones for variety... I also had three colors of labels, which added to the selection.


Getting the stamp straight was tricky, but I got better at it as I went along.


And there you have it! My circus animal (party animals, perhaps?) gift tags.

Small set-back: I didn't realize the tags were a gloss finish until I opened them up at home, meaning the ink was very prone to smearing. Oh well :-(

For the last step, all I did was tie a simple bow to attach the tags:


The array of different color/animal combinations really made me happy. When picking your materials, I definitely suggest picking varieties so your favors aren't all the same!


Everyone smiled when they got to pick which party animal to take home with them!


In the end, I think my favors turned out well and I was very pleased to put them on display by the door to pass out as my guests left...


So; with the simple 3 pronged approach of gift, package, tag; it's easy to put together adorable favors.

What's your favorite inexpensive party favor?

Cheers!

Monday, April 1, 2013

1 Hour Prep = Easy Peasy Weekday Mornings

OK, OK, OK, I give in.

I will start pre-packing me and Tim's lunches.

The time spent every morning, still groggy from waking up, blundering around my kitchen trying to put our lunches together has just become too much. I will start pre-packing lunch items so that all I have to do is manage to grab one of everything and throw it in a lunch box with an ice pack.

And for me, performing even that menial task before coffee at 6:30 AM will still be a challenge.

This week I had picked almond butter sandwiches and spring mix salads with carrots and cucumbers. We also always pack a few different fruit items for ourselves, so these items together make a substantial lunch box for the day.


 Two of these containers fill exactly 10 tupperware boxes for salads, which is perfect for 2 people and a 5 day workweek.


So I divided everything up...


Added some shredded carrots...


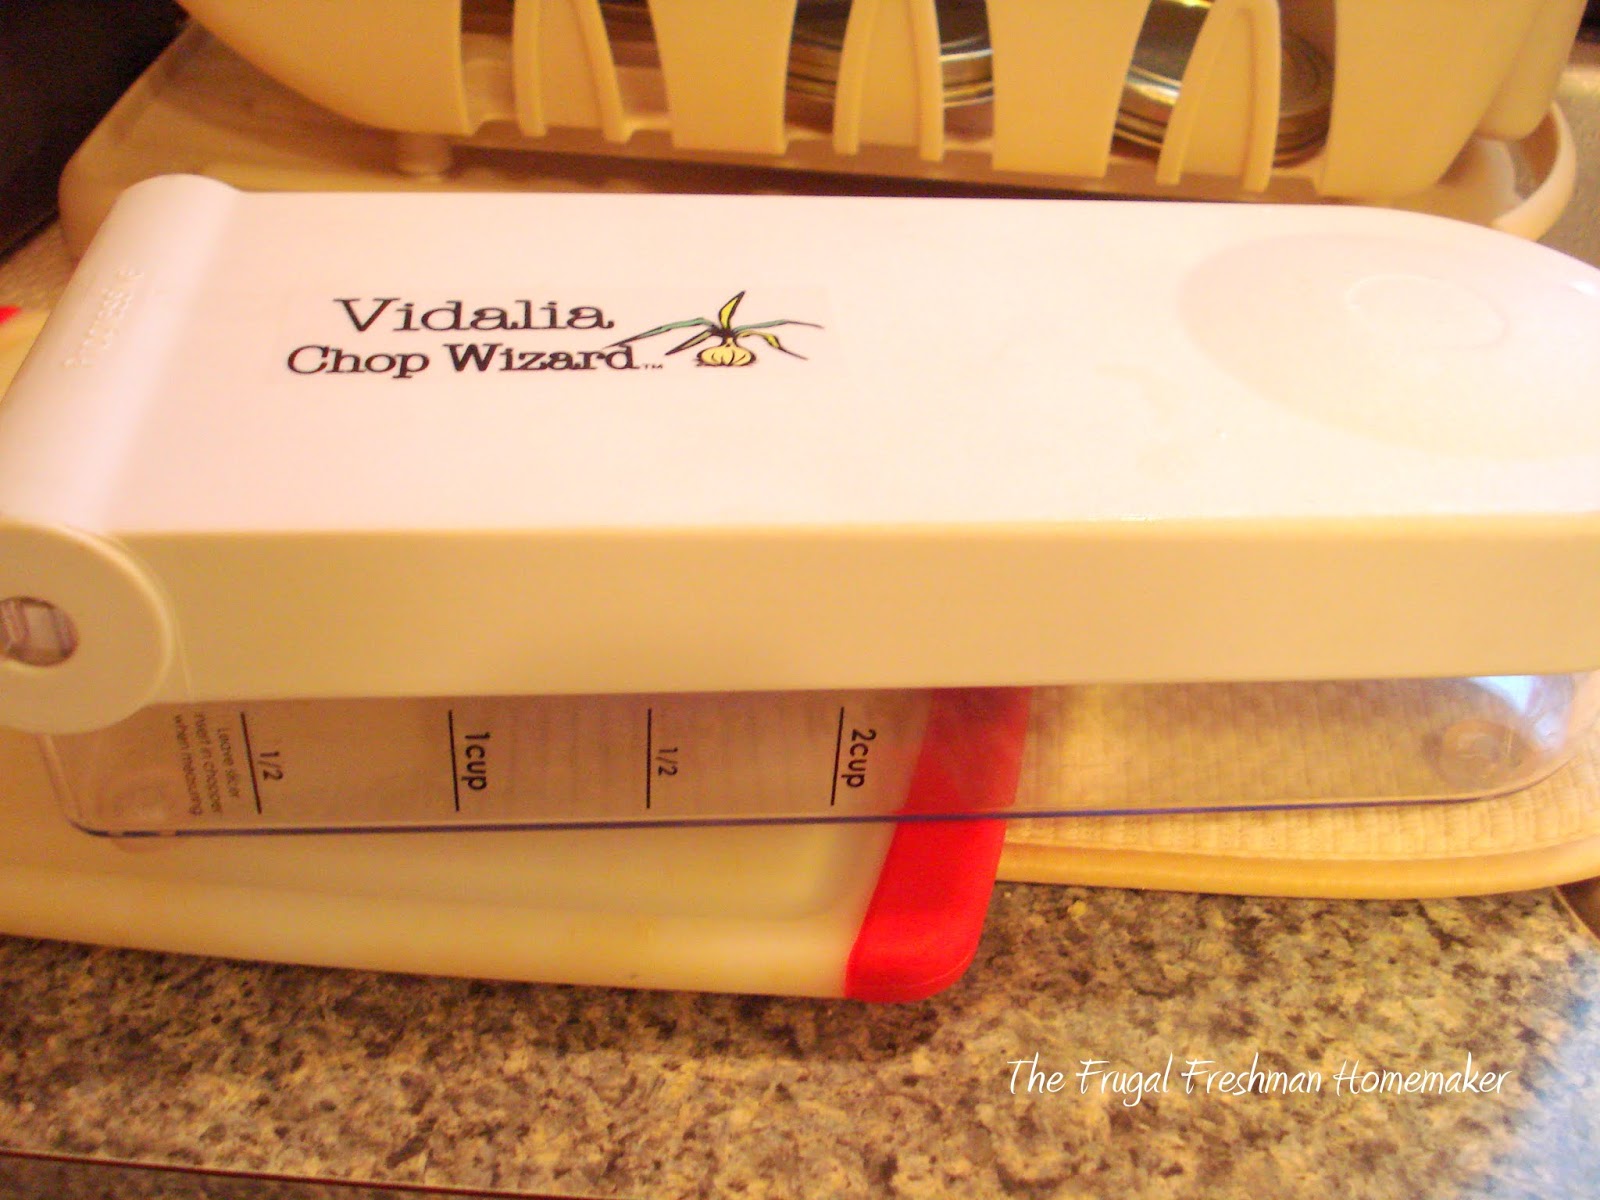
Started to chop the cucumber by hand, then remembered I had this handy thing:


Much better!

A few minutes later I had this!


Then I sliced the homemade bread I baked yesterday and made up enough almond butter sandwiches for the week!

I just hope they keep alright and the bread doesn't get too soggy. If not, next week I'll only do a couple days worth at a time. Live and learn right?

The whole deal only cost me an hour on Monday morning, and if I plan ahead I could probably even do part of the prep on the weekend, if I wanted. For the hassle it saves me first thing in the morning, it just might be worth it.

Next weekend we'll have to plan our grocery trip for some more pre-packable meals. Any suggestions?

Here's to a good workweek!

Cheers!